How to Install a No-Dig Chain Link Fence
No-dig fence systems have become one of the most efficient ways to install a chain link fence - without concrete, without augers, and without tearing up your yard. Whether you're building an enclosure, replacing a damaged fence section, or installing a full perimeter, no-dig posts save time and reduce labor while still offering excellent stability.
What Is a No-Dig Fence?
- Residential and Commercial Fencing
- Temporary or Semi-Permanent Installations
- Areas where Digging is Restricted
- Projects Requiring Fast Installation and Minimal Yard Disruption
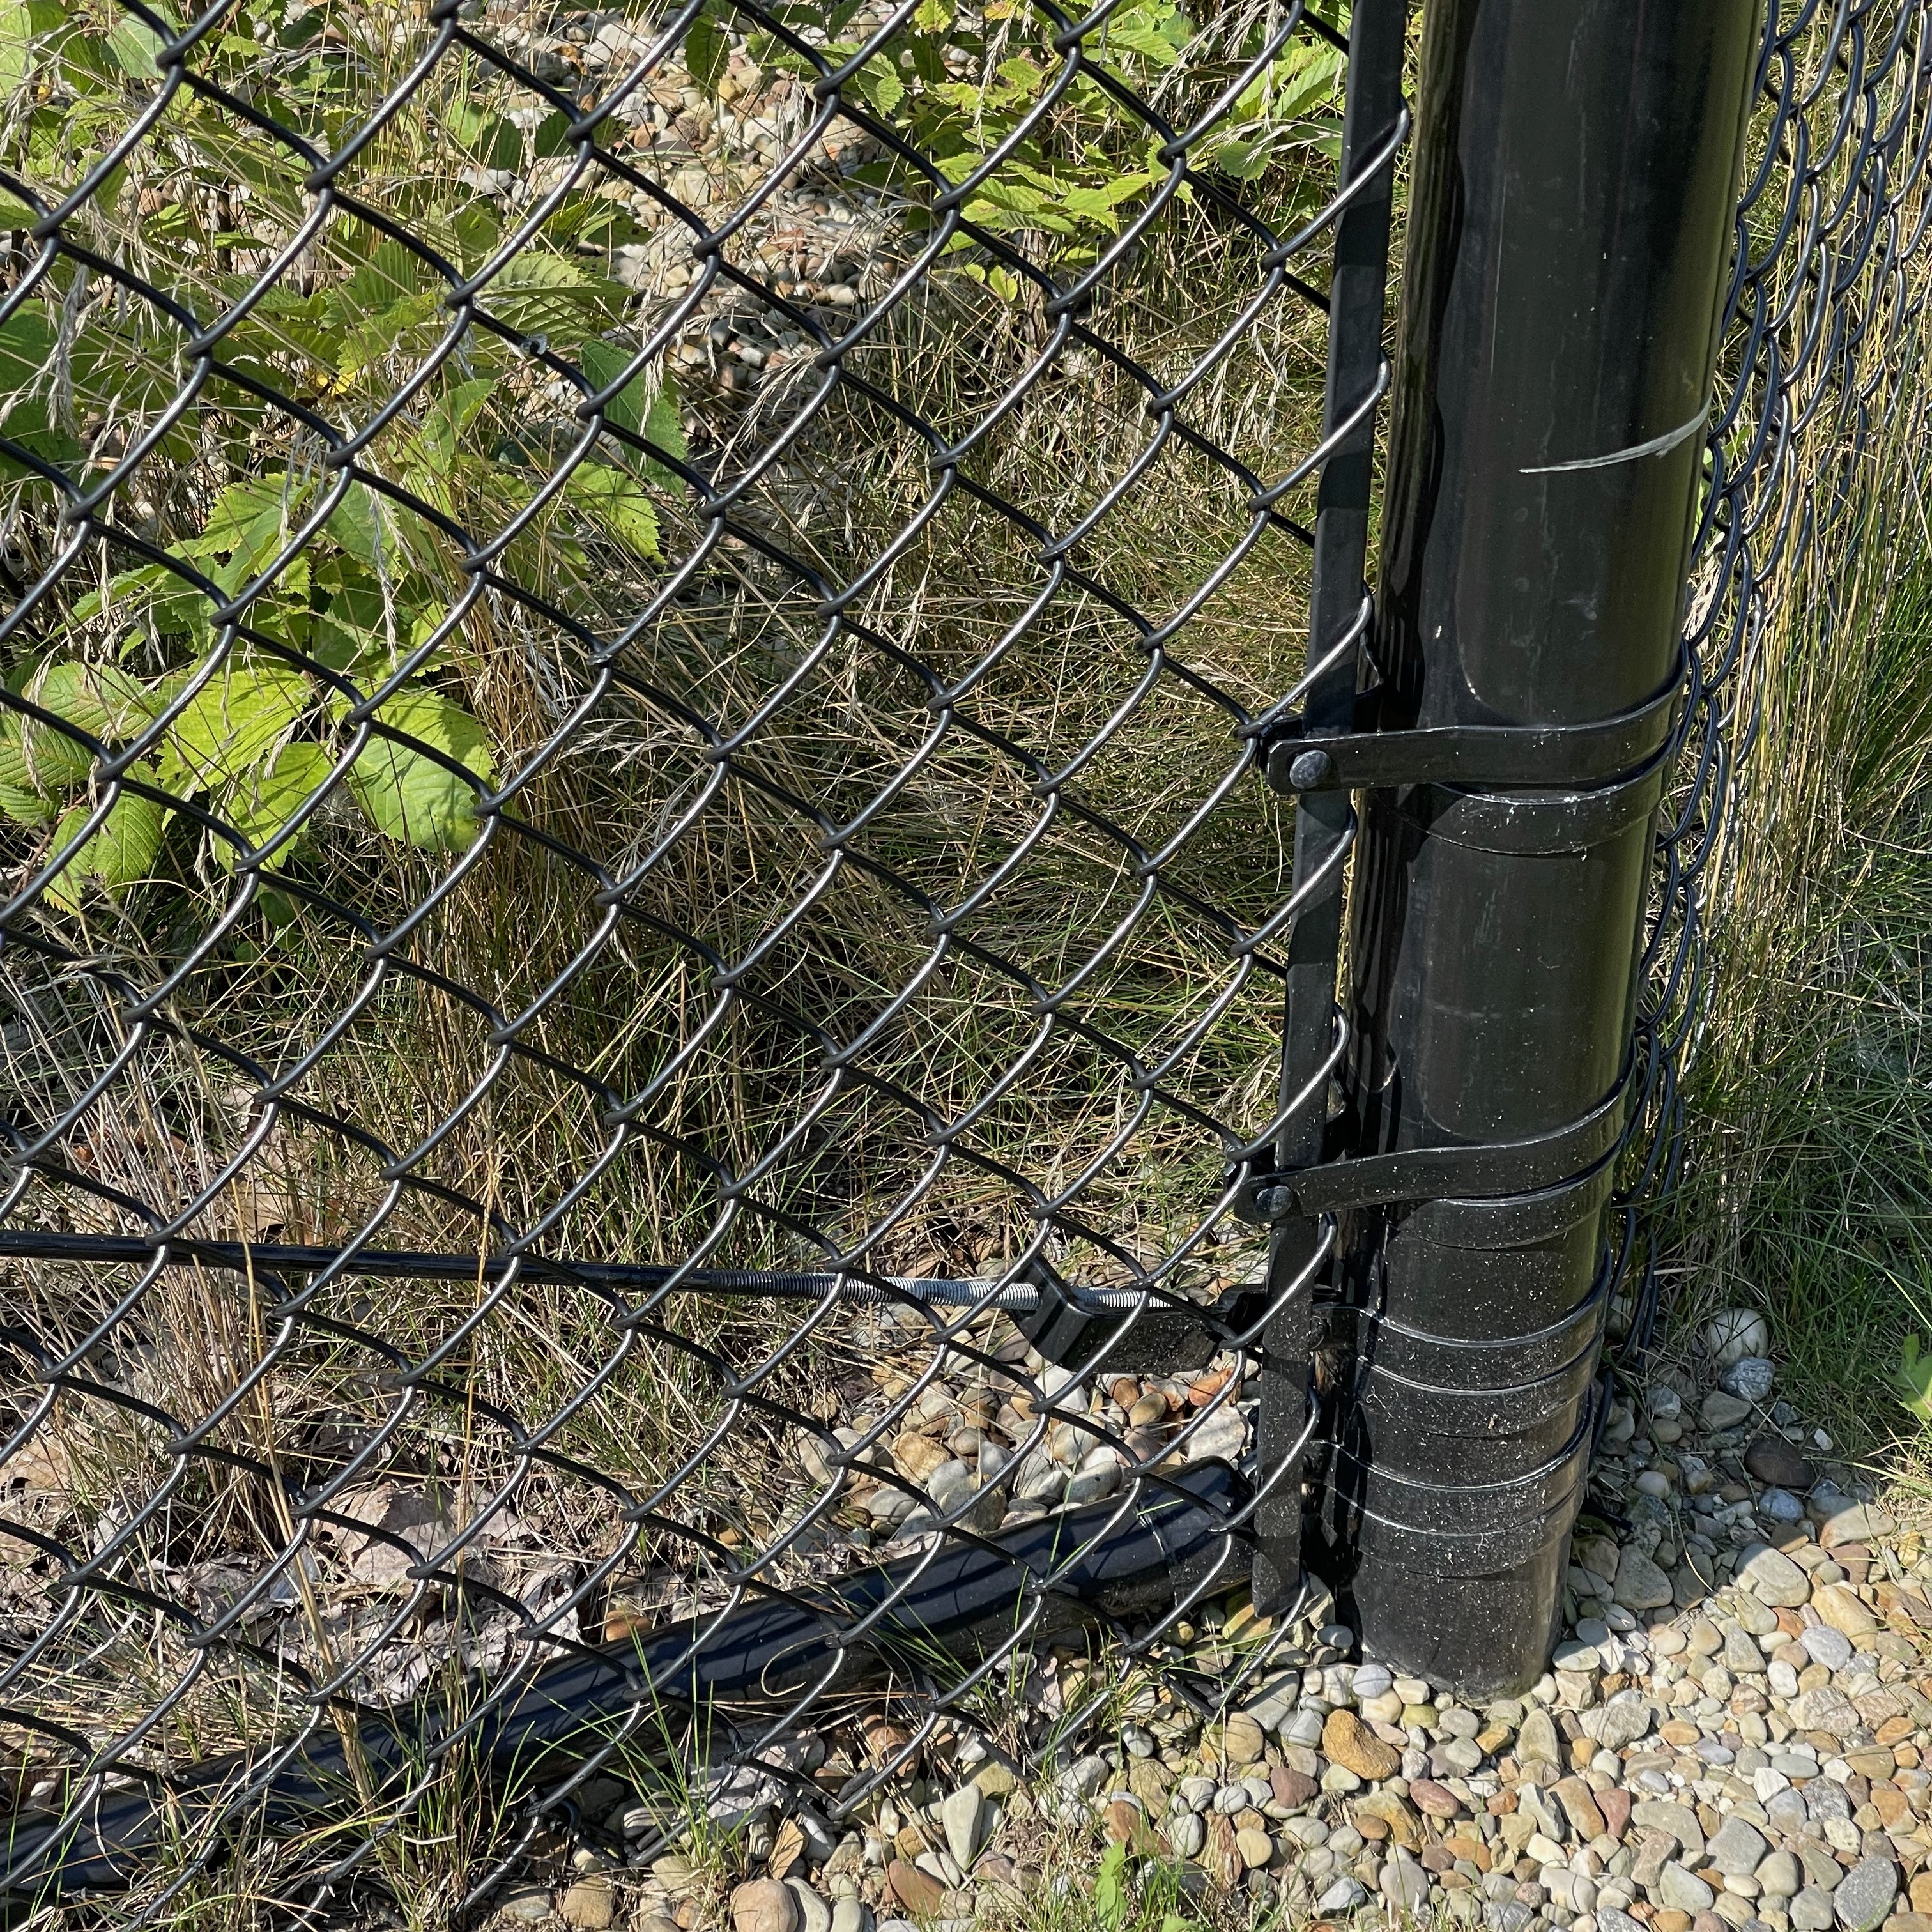
A no-dig fence uses driven ground anchors instead of concrete set posts. Instead of excavating holes, the anchor is driven directly into the ground using a manual or gas-powered post driver. The fence post then slides into the anchor and bolts into place.
No-dig chain link systems are ideal for:
Benefits of No-Dig Fence Systems
No-dig fence posts offer a fast, clean, and highly efficient installation method that avoids digging holes or pouring concrete. They minimize yard disruption, reduce labor time, and allow year-round installation - even in colder climates where concrete curing is difficult. No-dig systems also make repairs or relocations significantly easier, since ground anchors can be removed or repositioned without leaving large holes.
| Feature | No-Dig Fence Posts | Traditional Concrete Posts |
|---|---|---|
| Installation Time | Faster, No Curing Required | Slower, Requires Digging & Curing |
| Tools Needed | Manual or Gas Post Driver | Auger, Shovels, Mixing Tools |
| Yard Impact | Minimal Disturbance | Significant Soil Disruption |
| Strength | Excellent for Most Soils | Maximum Stability in All Soil Types |
| Best Use Case | Residential & Light Commercial | Heavy-Duty & Industrial Fencing |
Tools & Materials You'll Need
Please Note: While we don't sell no-dig donuts for chain link fencing, they are commonly used when converting an existing chain link fence to a vinyl system. These donuts fit around the chain link post and sit inside the vinyl post to provide added stability.
Find Your Vinyl No-Dig Donuts at VinylFenceFittings.com, a member of the DF Supply, Inc Family
Step-by-Step No-Dig Chain Link Fence Installation Guide
- Plan and Prepare the Site Before installing your no-dig chain link fence, start by mapping out the fence line, checking property boundaries, and calling utility marking services. Establish your post spacing (usually 8-10 ft) and stretch a string line to ensure the fence is straight and properly aligned.
- Mark Your Post Locations Use stakes or marking paint to identify every post placement along the fence line. Be sure to clearly mark corner, end, and gate posts, as they require greater stability and alignment than standard line posts.
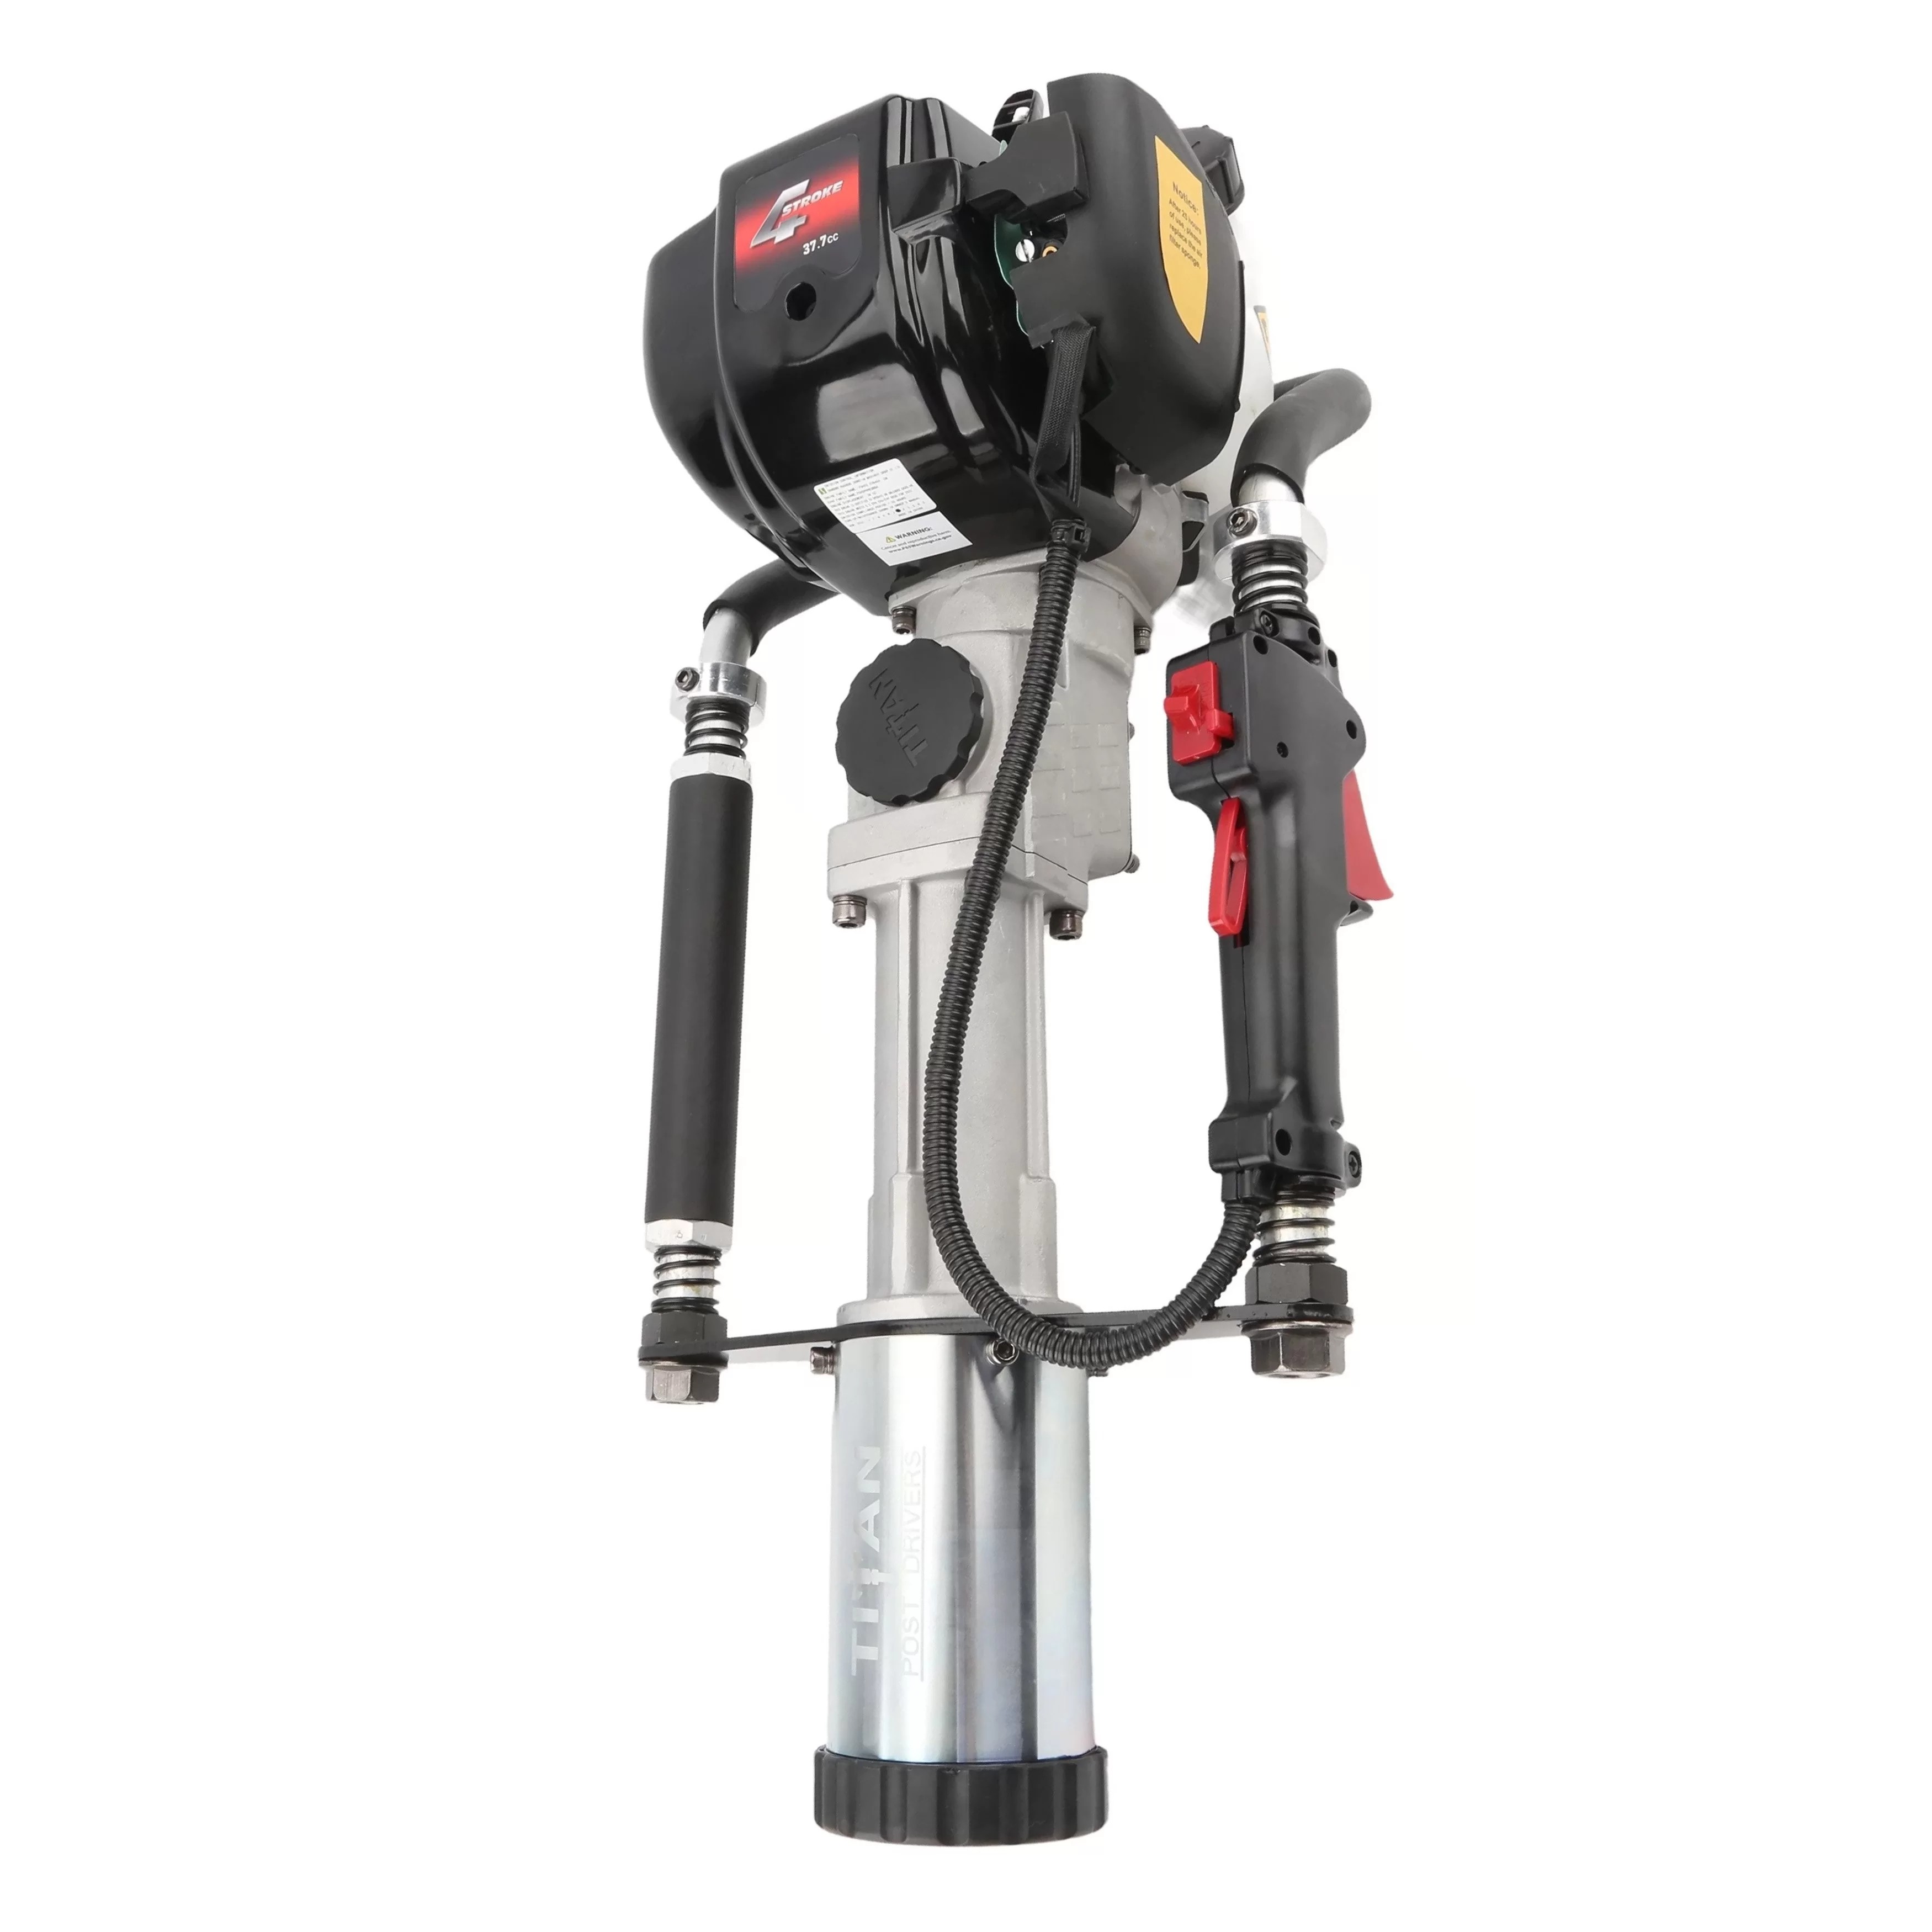
- Choose Your Post-Driving Tools Depending on your project size and soil type, select either a manual post driver or a gas-powered driver. Manual drivers work for small projects and softer soil, while gas or pneumatic drivers are recommended for clay, rocky terrain, or long fence lines
- Drive the Ground Anchors and Install the Posts Position each ground anchor on its marked location and use a manual or gas-powered post driver to drive it straight into the soil, checking alignment against your string line as you go. Once the anchor is fully seated and plumb, insert the fence post into the anchor, make any necessary alignment adjustments, and tighten the anchor bolts securely with a wrench or impact driver to lock the post in place.
- Attach and Stretch the Chain Link Mesh Roll out the chain link mesh along the fence line and secure one end using a tension bar and tension bands. Use a come-along or fence puller to stretch the mesh tight before tying it to each line post with wire ties. Install your top rail and tighten all fittings to complete the structure.
- Perform Final Quality Checks Inspect your entire fence for straight posts, tight mesh tension, aligned rail height, and secure fittings. Tighten any loose components and make adjustments to ensure a professional-level finish and long-term fence stability.
Installing a no-dig chain link fence is straightforward when you follow a clear, structured process. Use the guide below to ensure your posts, mesh, and fittings are aligned, secure, and built to last.
Common Mistakes & Troubleshooting
- Posts Not Staying Straight: This usually happens when the anchor starts drifting during driving. Recheck alignment with your string line, loosen the anchor bolts, straighten the post, and retighten securely.
- Chain Link Mesh Sagging: Sagging occurs when the mesh wasn't stretched tightly enough before tying it to the line posts. Use a come-along or fence stretcher to reapply tension, then secure the ties more evenly down the line.
- Difficulty Driving Anchors in Hard or Rocky Soil: Dense clay or rocky terrain can cause anchors to stop prematurely or veer off. Switching to a gas-powered post driver or drilling shallow pilot holes can help the anchor penetrate correctly.
- Anchors Hitting Underground Obstacles: If an anchor refuses to drive to full depth, you've likely hit a buried rock or obstruction. Move the anchor location 2-4 inches forward or backward along the fence line, then try again.
- Misaligned Posts Along the Fence Line: This typically happens when installers skip or loosen the string line during anchor driving. Reset your line, check each anchor position, and make small adjustments before fully tightening the bolts.
Even with a straightforward no-dig installation, a few issues tend to show up repeatedly for DIYers and pros alike. Knowing the most common mistakes ahead of time makes it easier to spot problems early and fix them before they affect the fence's stability or appearance.
If you have any further questions, please reach out to our representatives. They are happy to help in any way they can!
Contact Us