Quick Way To Do Chain Link Fence Repairs
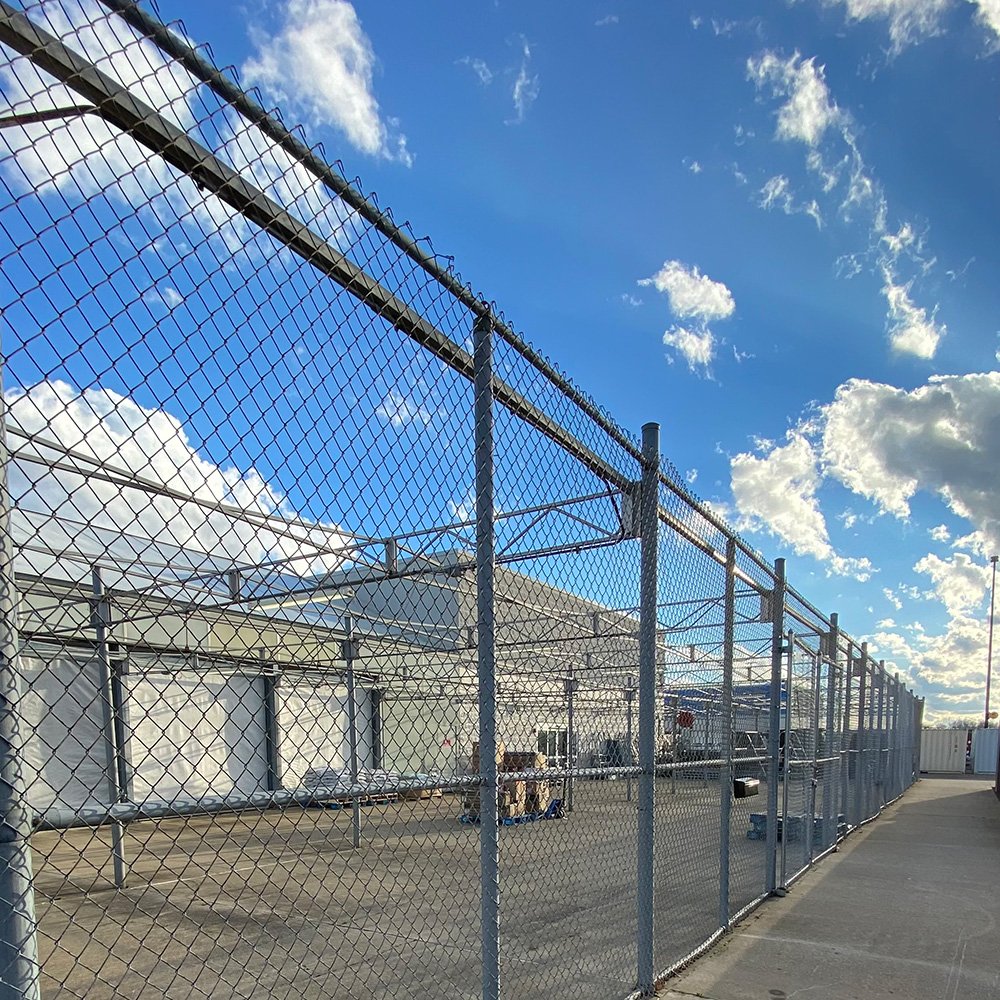
If you currently own a chain link fence or are looking towards the future, repairing a chain link fence is relatively easy. While chain link is not as ornate as aluminum or vinyl fence, it makes up for it in its practicality and easy repair structure.
You will only need to briefly repair your chain link fence; sometimes, anything from a large branch falling from a tree to a deer attempting to hop your fence could damage some essential parts. If you ever get into this problem, here are some tips to make swift repairs without costing you more cash.
When Your Mesh Is Damaged
If your chain link mesh or fabric has been bitten or cut through, there is a simple way to get it back to new.
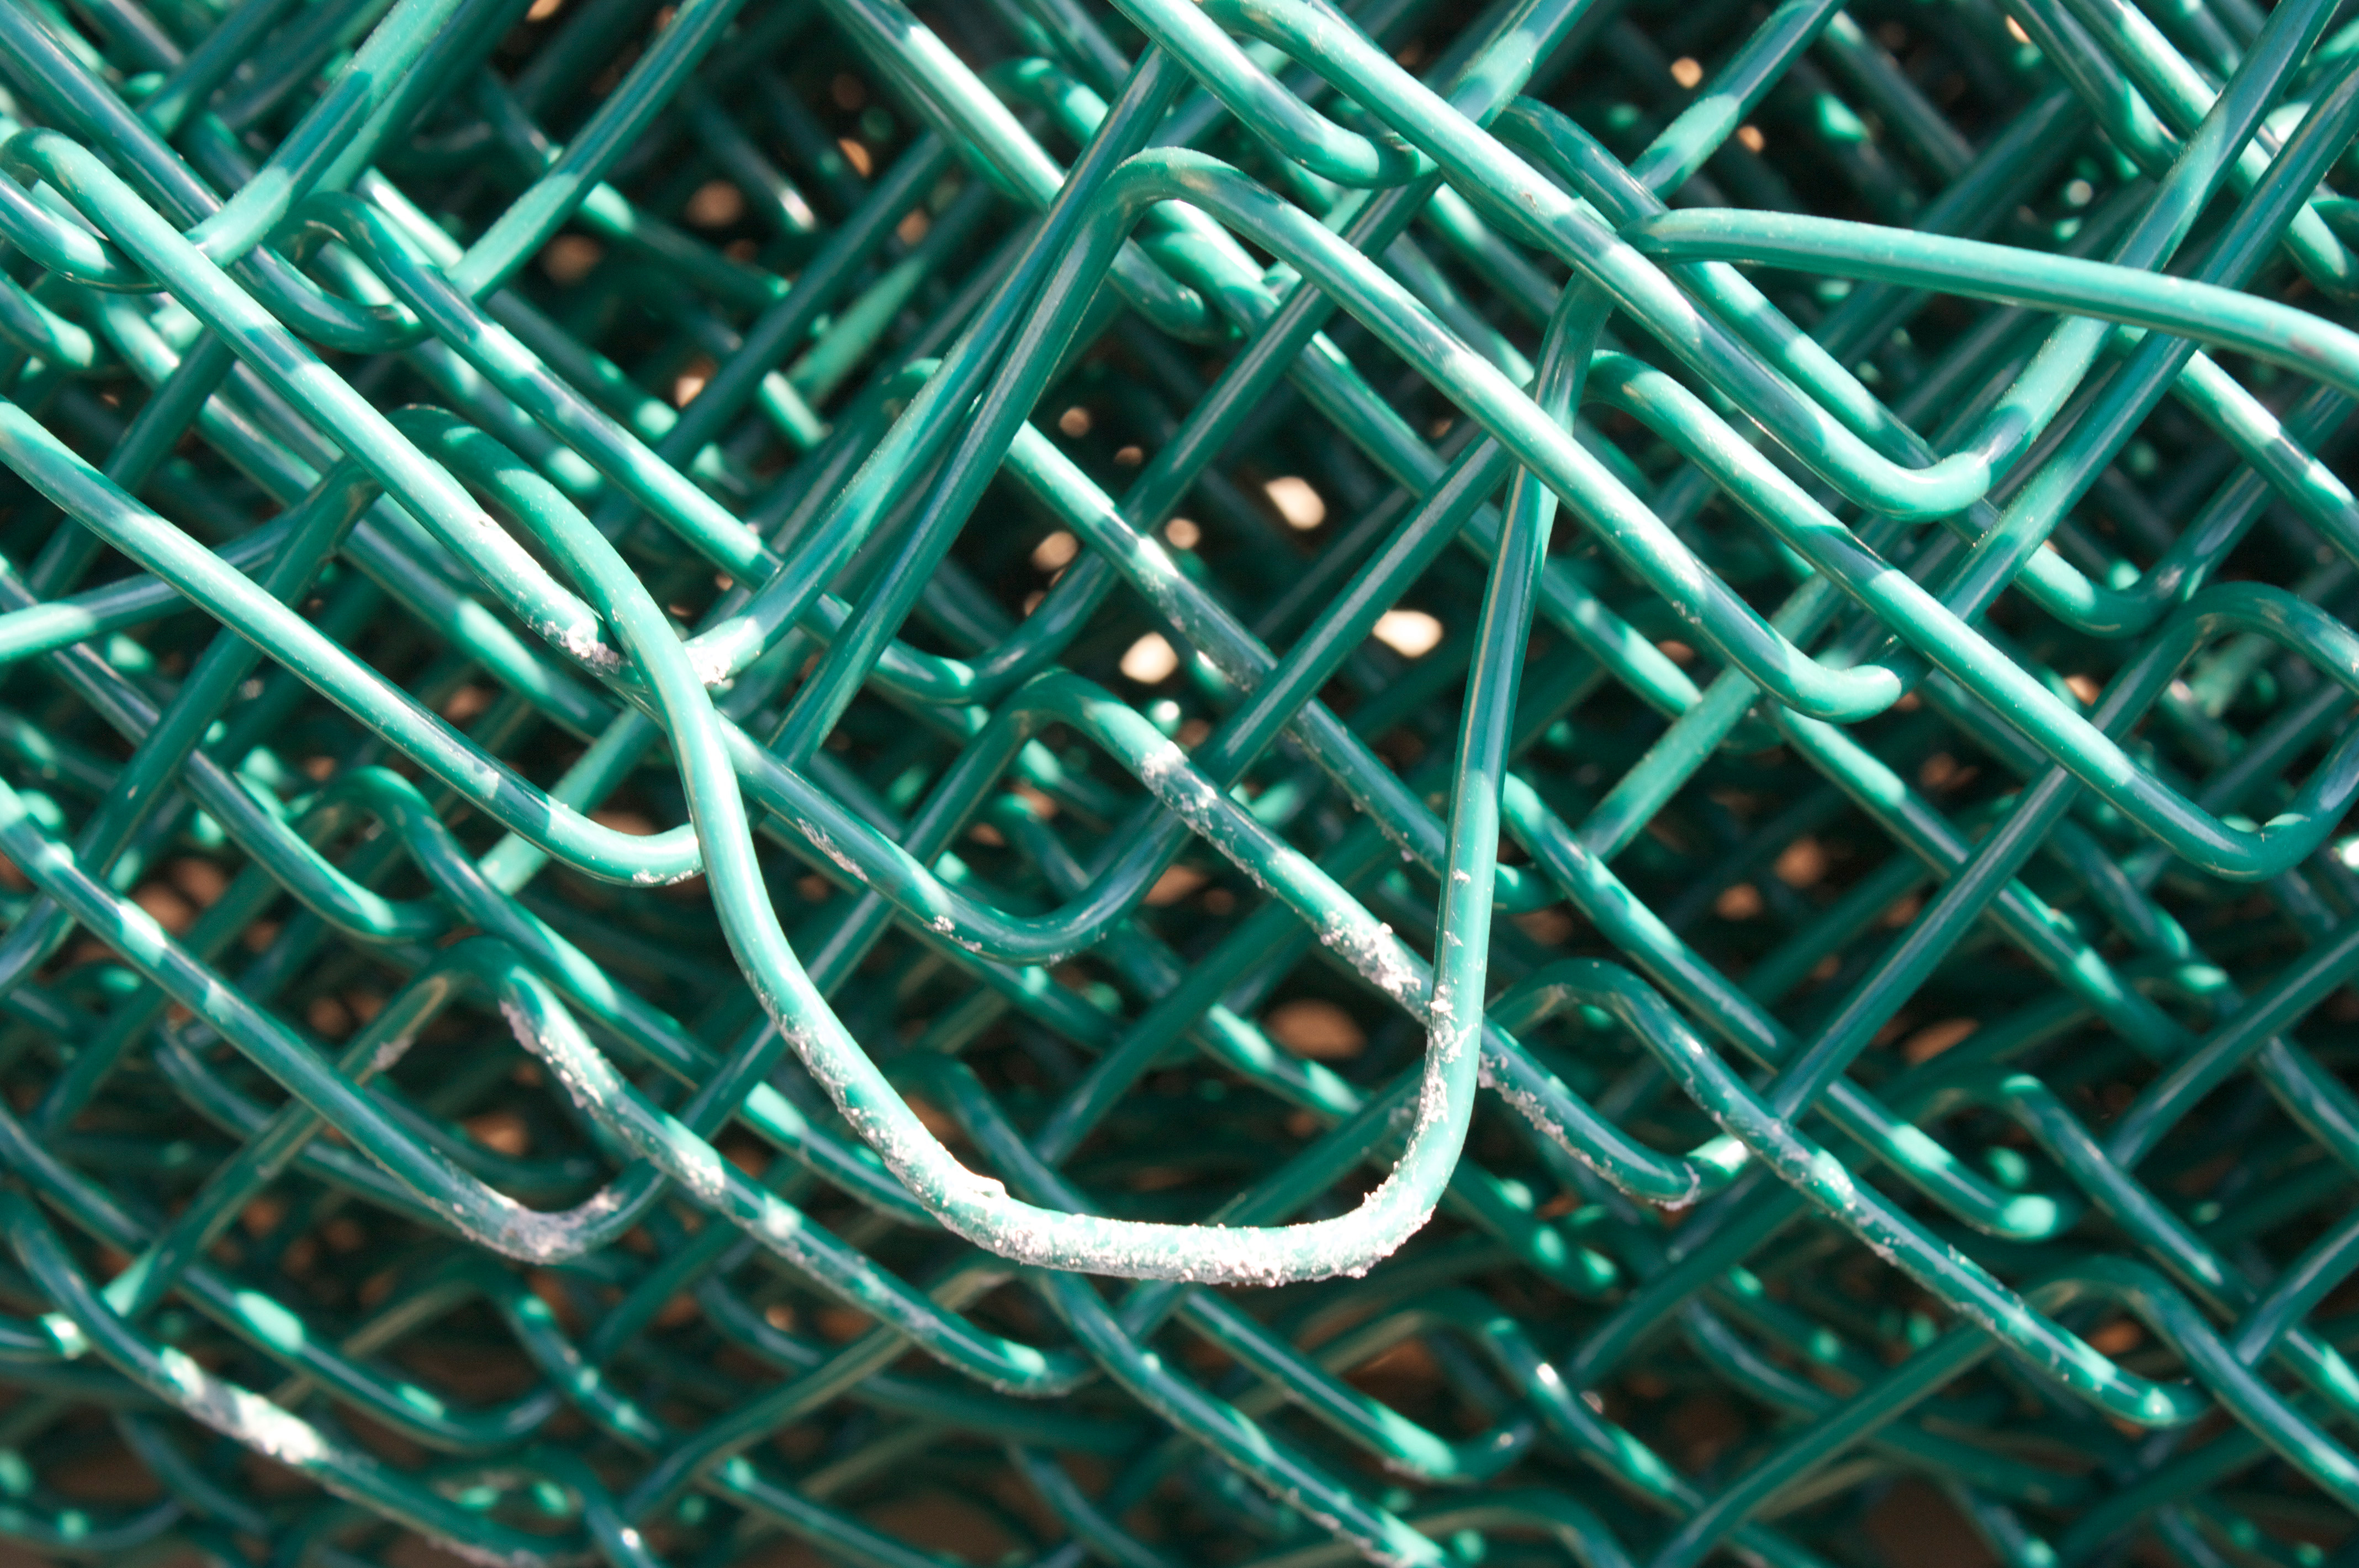
- First, take off the ruined fabric. This can be done by uninstalling the tension wire that helps keep the fabric in place. You can use fence pliers to remove the tension wire.
- Next, take some new mesh, making sure it matches the existing mesh size, and attach it to the top rail of your fence. Remember that you’ll need to add a tension bar to the end of your mesh to attach it to the post.
- Also, remember that you'll need wire ties to keep your mesh in place. Stretch the fabric when installation occurs so it remains taut.
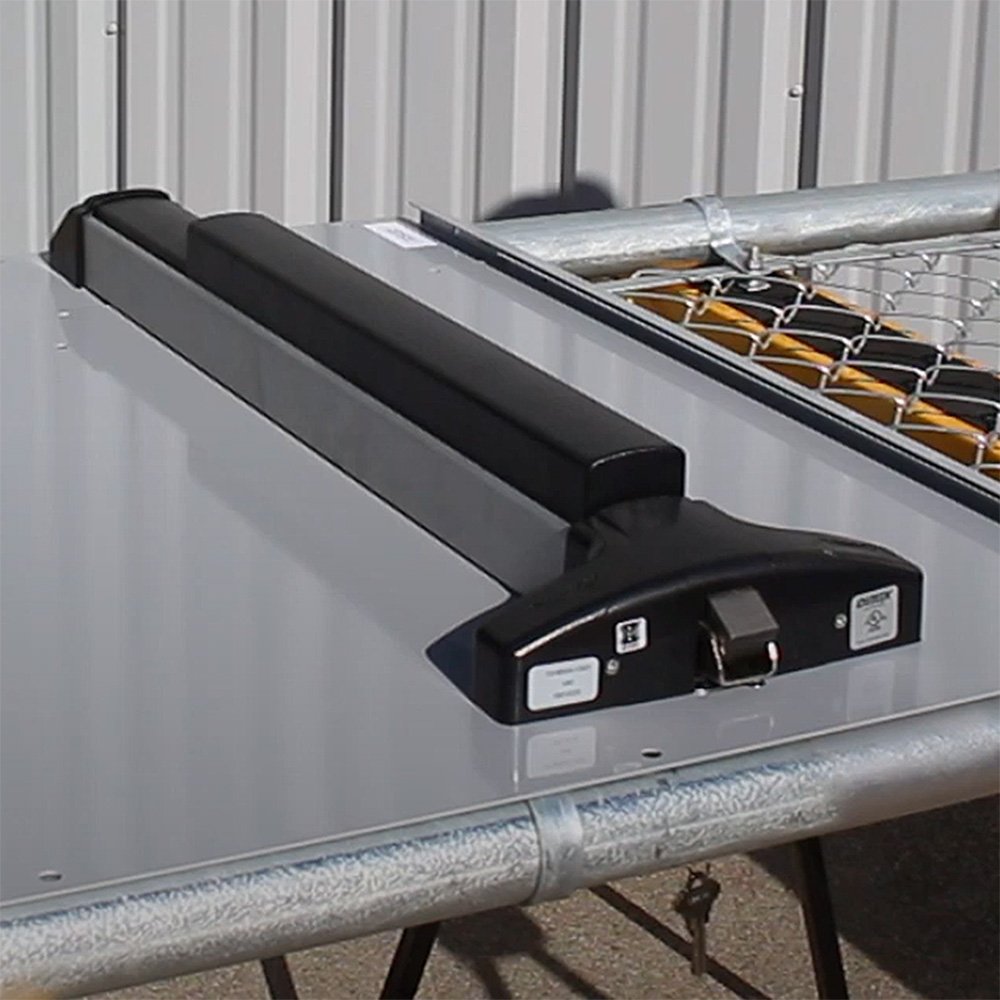
- If you have an existing chain link fence, you can follow the installation process set out by the previous mesh. Another helpful tool for mesh installation is a top rail fabric hanging tool. This tool ensures a tight mesh and will not fold through harsh winds.
And with that, you have successfully repaired your chain link fence mesh.
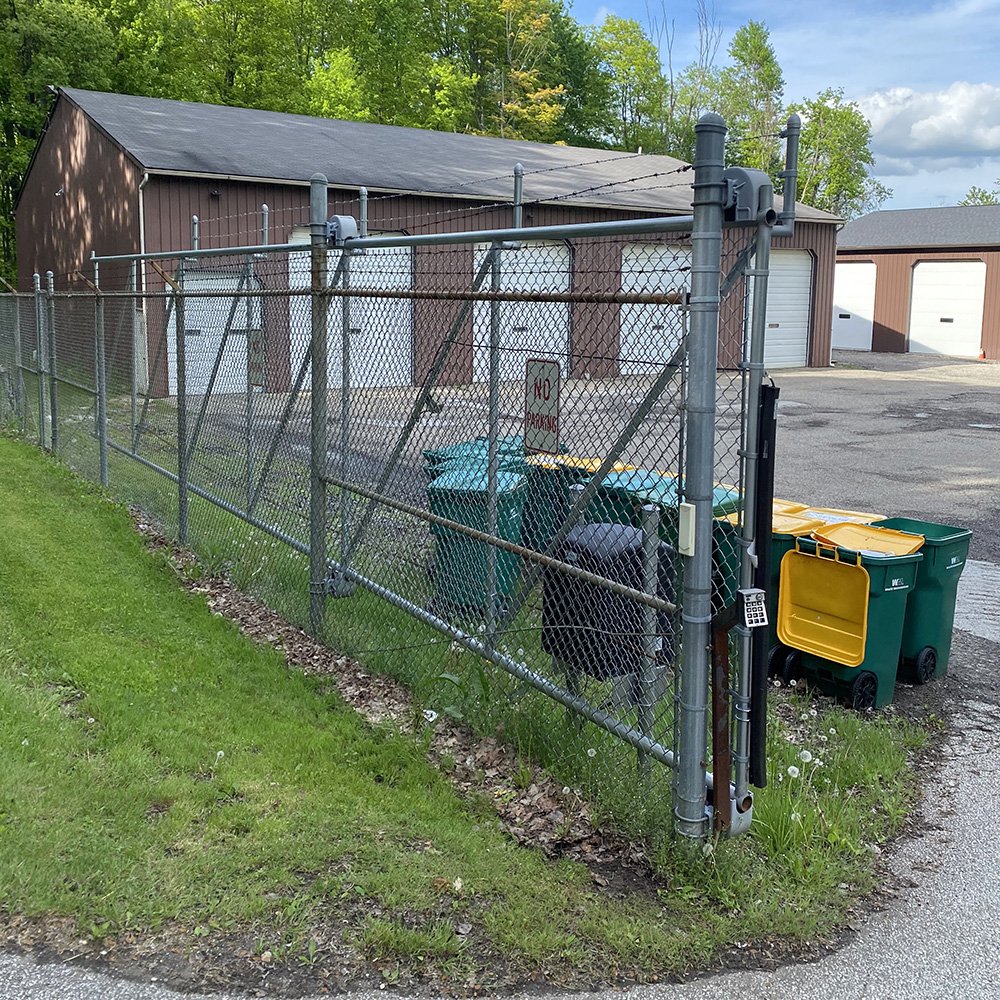
How Do You Replace A Post For Your Chain Link Fence?
If you are looking for the easiest way to repair a post, you’ll need to remove the post from the chain link fence. To do this:
- Take off the tension bands, tension wire, brace bands, or anything else attached to your fence post. Next, take off the rail. This will ensure the post is not connected to your chain link fence.
- Then, you’ll need to take out the old post. To do this, you can use a shovel.
- After this step, it is time to dig the hole. This is easier if you have a mechanical or hydraulic earth drill. If not, a post-hole digger will work just fine. This hole must be dug more profoundly than the previous hole – possibly about 10 inches. Make sure that this hole is wide at the bottom and gets narrow as it reaches the top.
- Once you have finished this step, place some gravel on the ground, put the post inside (using a level to ensure it is even), and then fill your hole with concrete. Follow the directions for how to pour the concrete.
If you need an excellent cement solution to set your post, Kwixset waterproof cement is a hydraulic cement that sets in 15 to 20 minutes. It is more robust than concrete and works the same.
It is time to attach the rest of your chain link fence once your concrete or cement is completely dry. Place all the parts you previously took off your post, and remember to keep the mesh taunt when reattaching.
How About Rail Repair For A Chain Link Fence?
- First of all, you’ll need to detach the mesh from the rail. This is done by removing the mesh from the top rail and then removing the tension wire if it is a part of your chain link fence setup.
- After completing this step, you’ll need a hack or reciprocating saw. Cut off the part of the pipe that is bent or damaged. Make sure the tube is cut evenly.
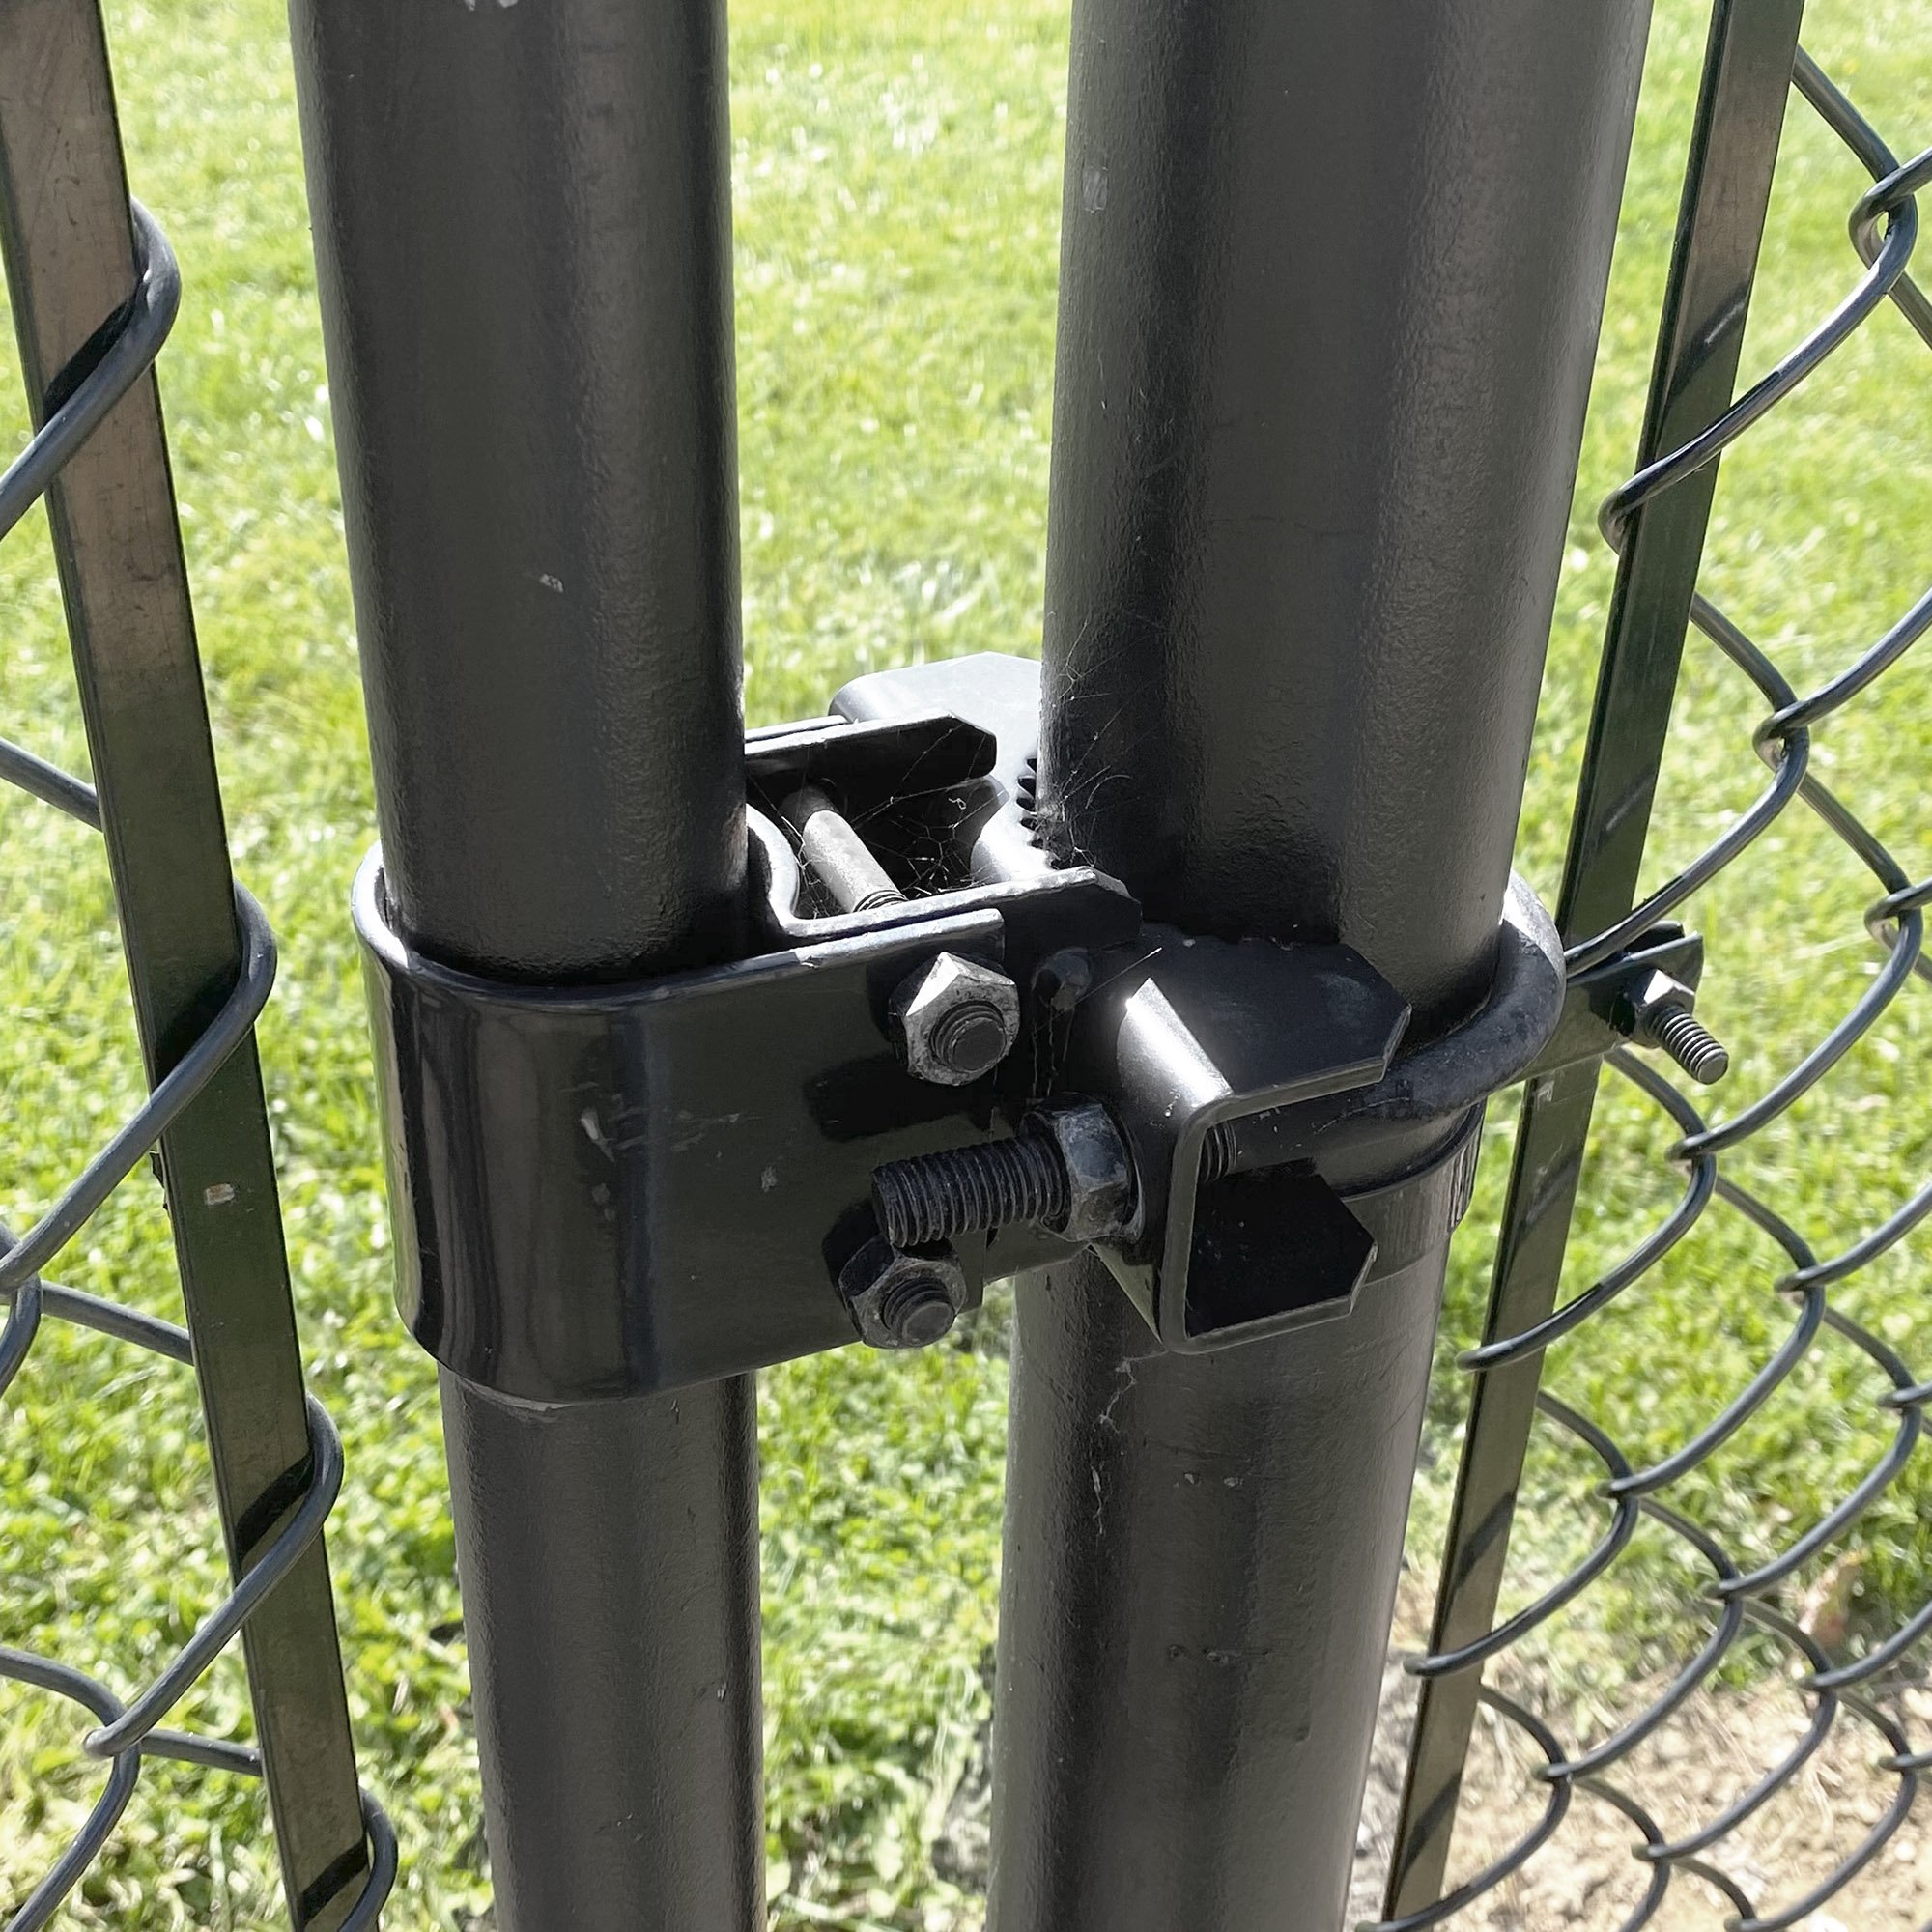
- After completing this step, you can attach the new rail. You can use a line rail clamp if you need a connection between the old and new railing. If not, cut the new rail to the correct size and attach it to the existing chain link fence.
- As you can see, it’s easy to do DIY repairs without requiring a professional to repair a chain link fence. The best part about a chain link fence is the simplicity that comes with installing your fence.