How to Install a Gate Wheel on Your Chain Link Gate
Installing a gate wheel is a simple way to improve support and reduce the strain on your chain link gate. Whether you're adding one to a new gate or repairing an existing one that sags, this guide will walk you through the process. With basic tools and a little bit of time, you can complete this installation yourself and extend the life of your gate.
Materials You'll Need
Having the right materials and tools on hand before you start will make the installation process much smoother. Here's what you'll need to complete this project:
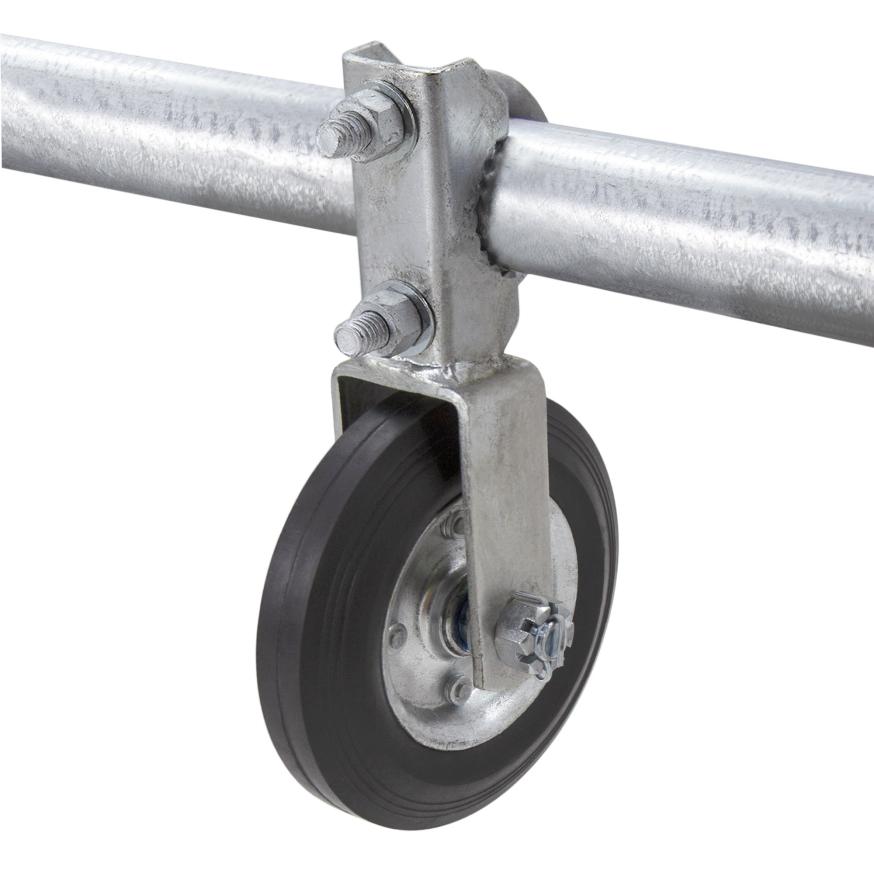
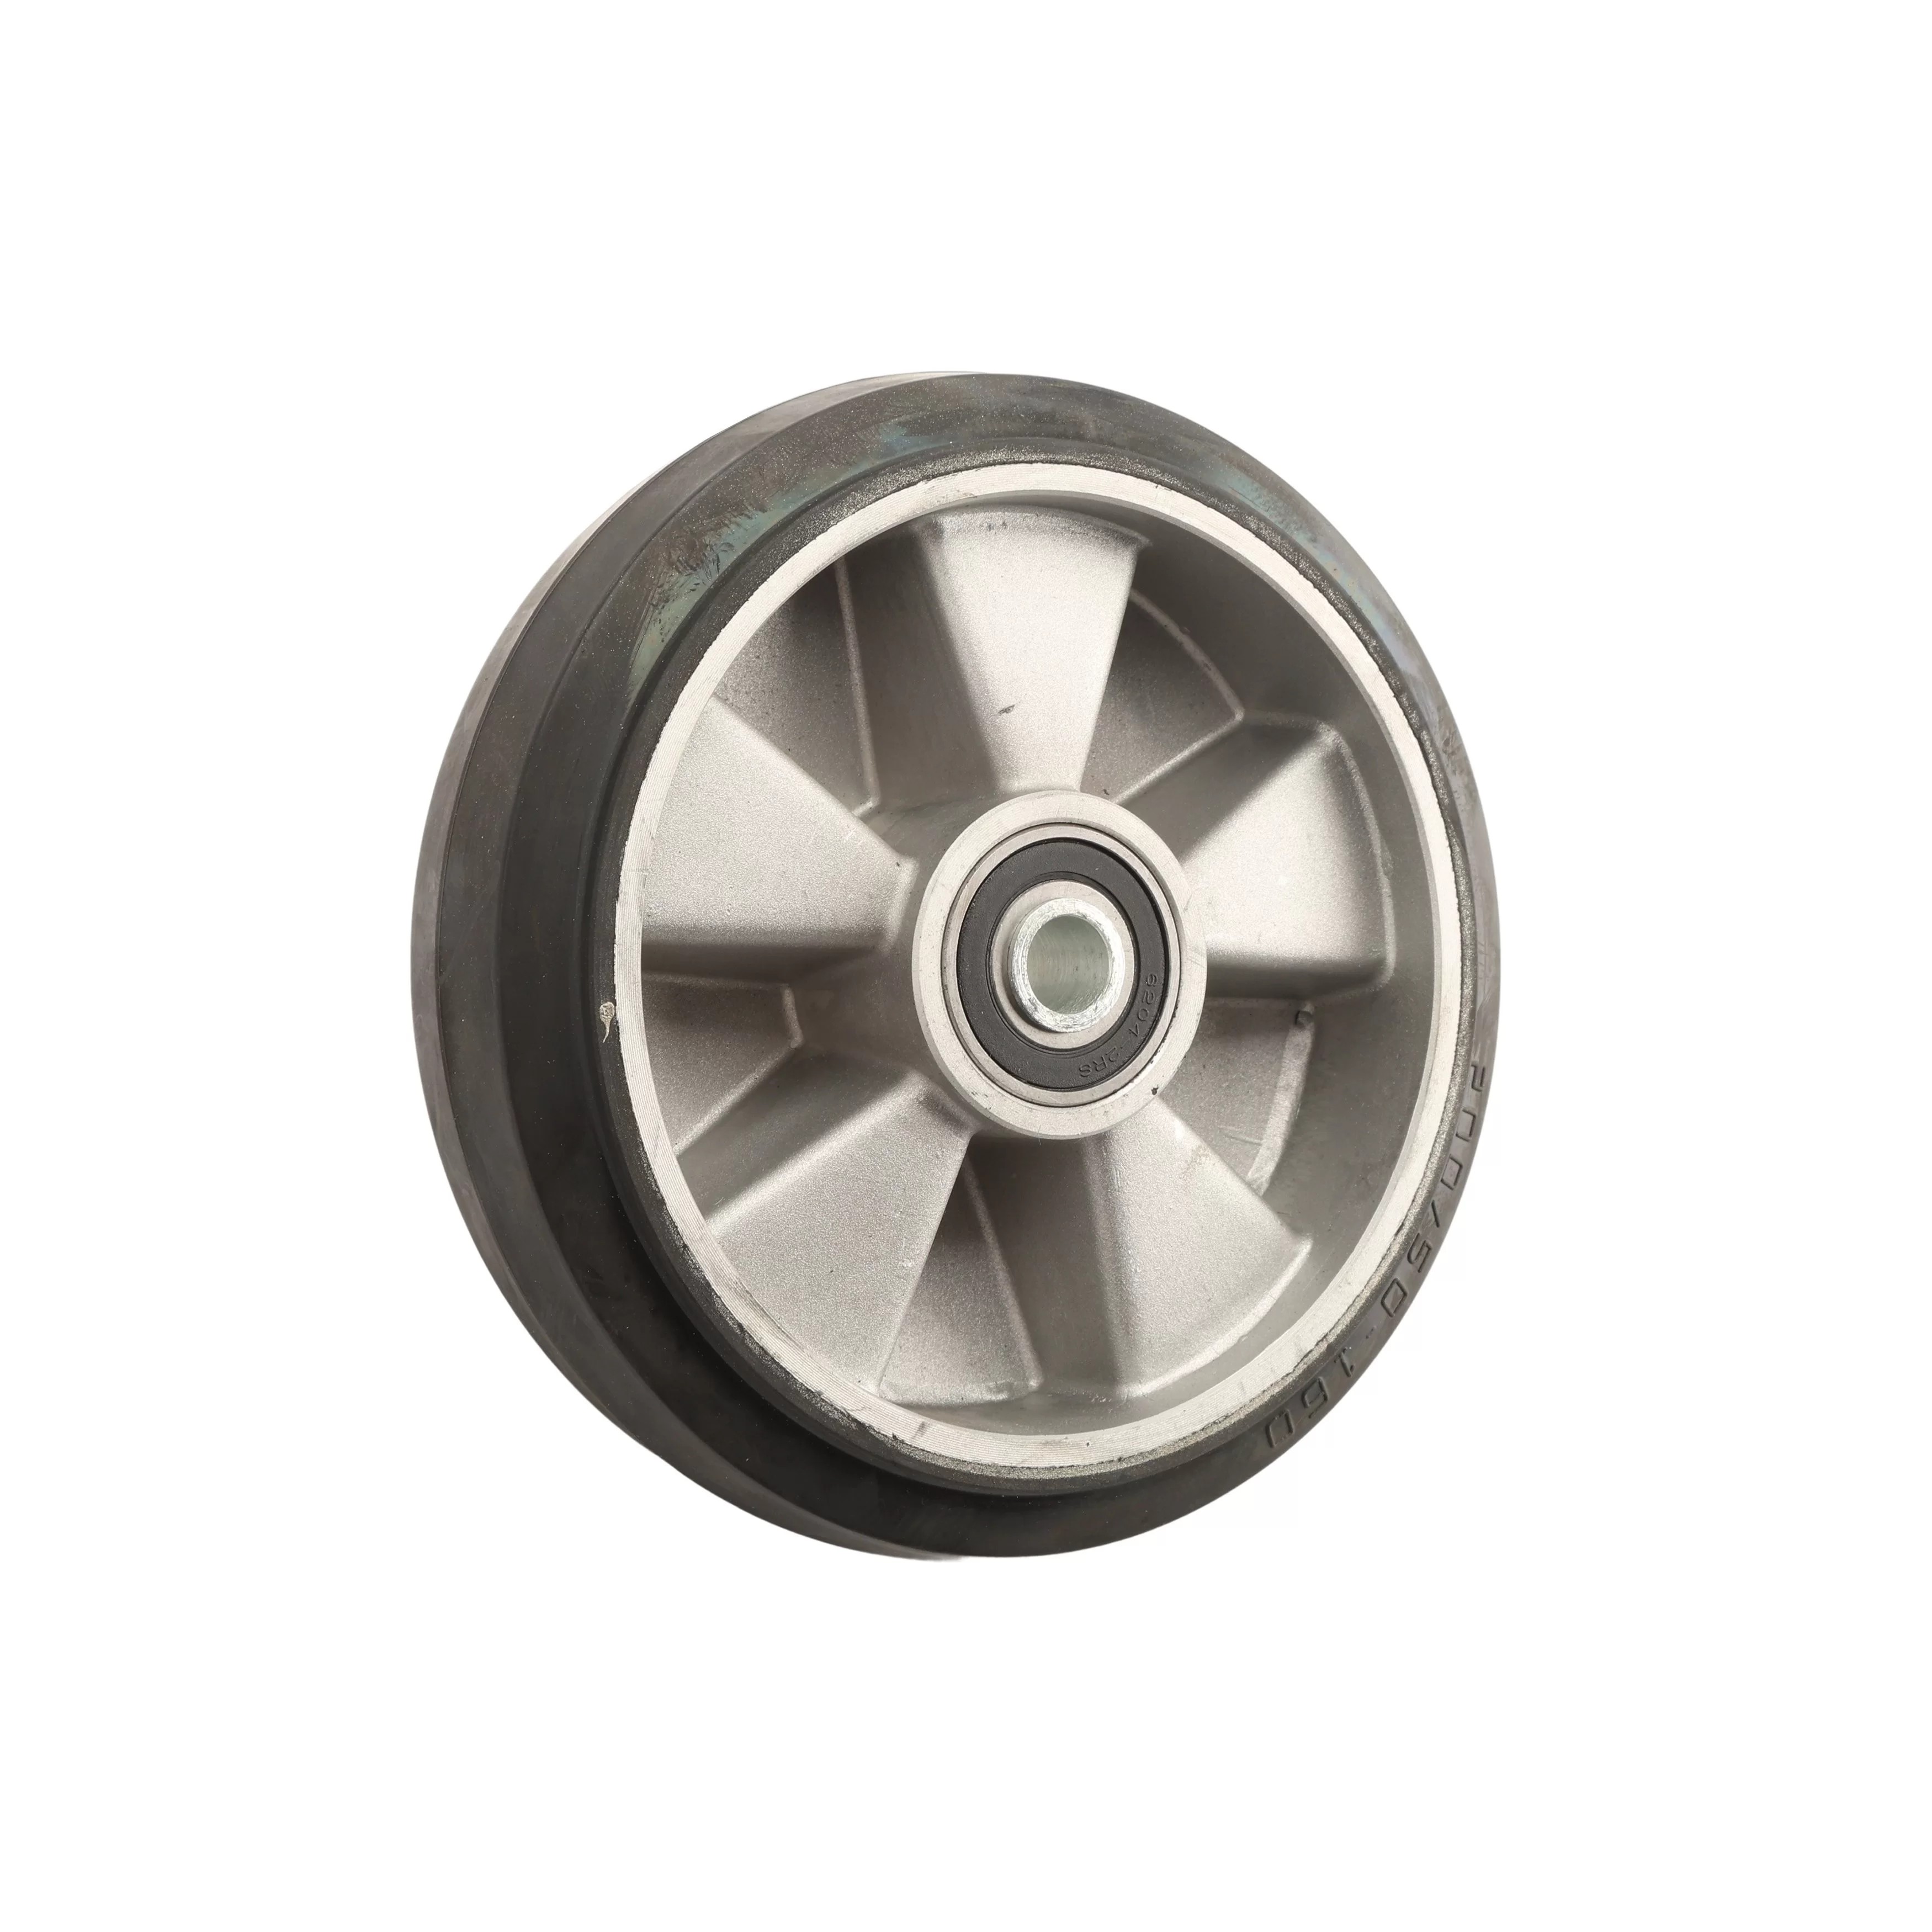
- Gate Wheel Assembly (swivel, rigid, or double wheel depending on your gate type)
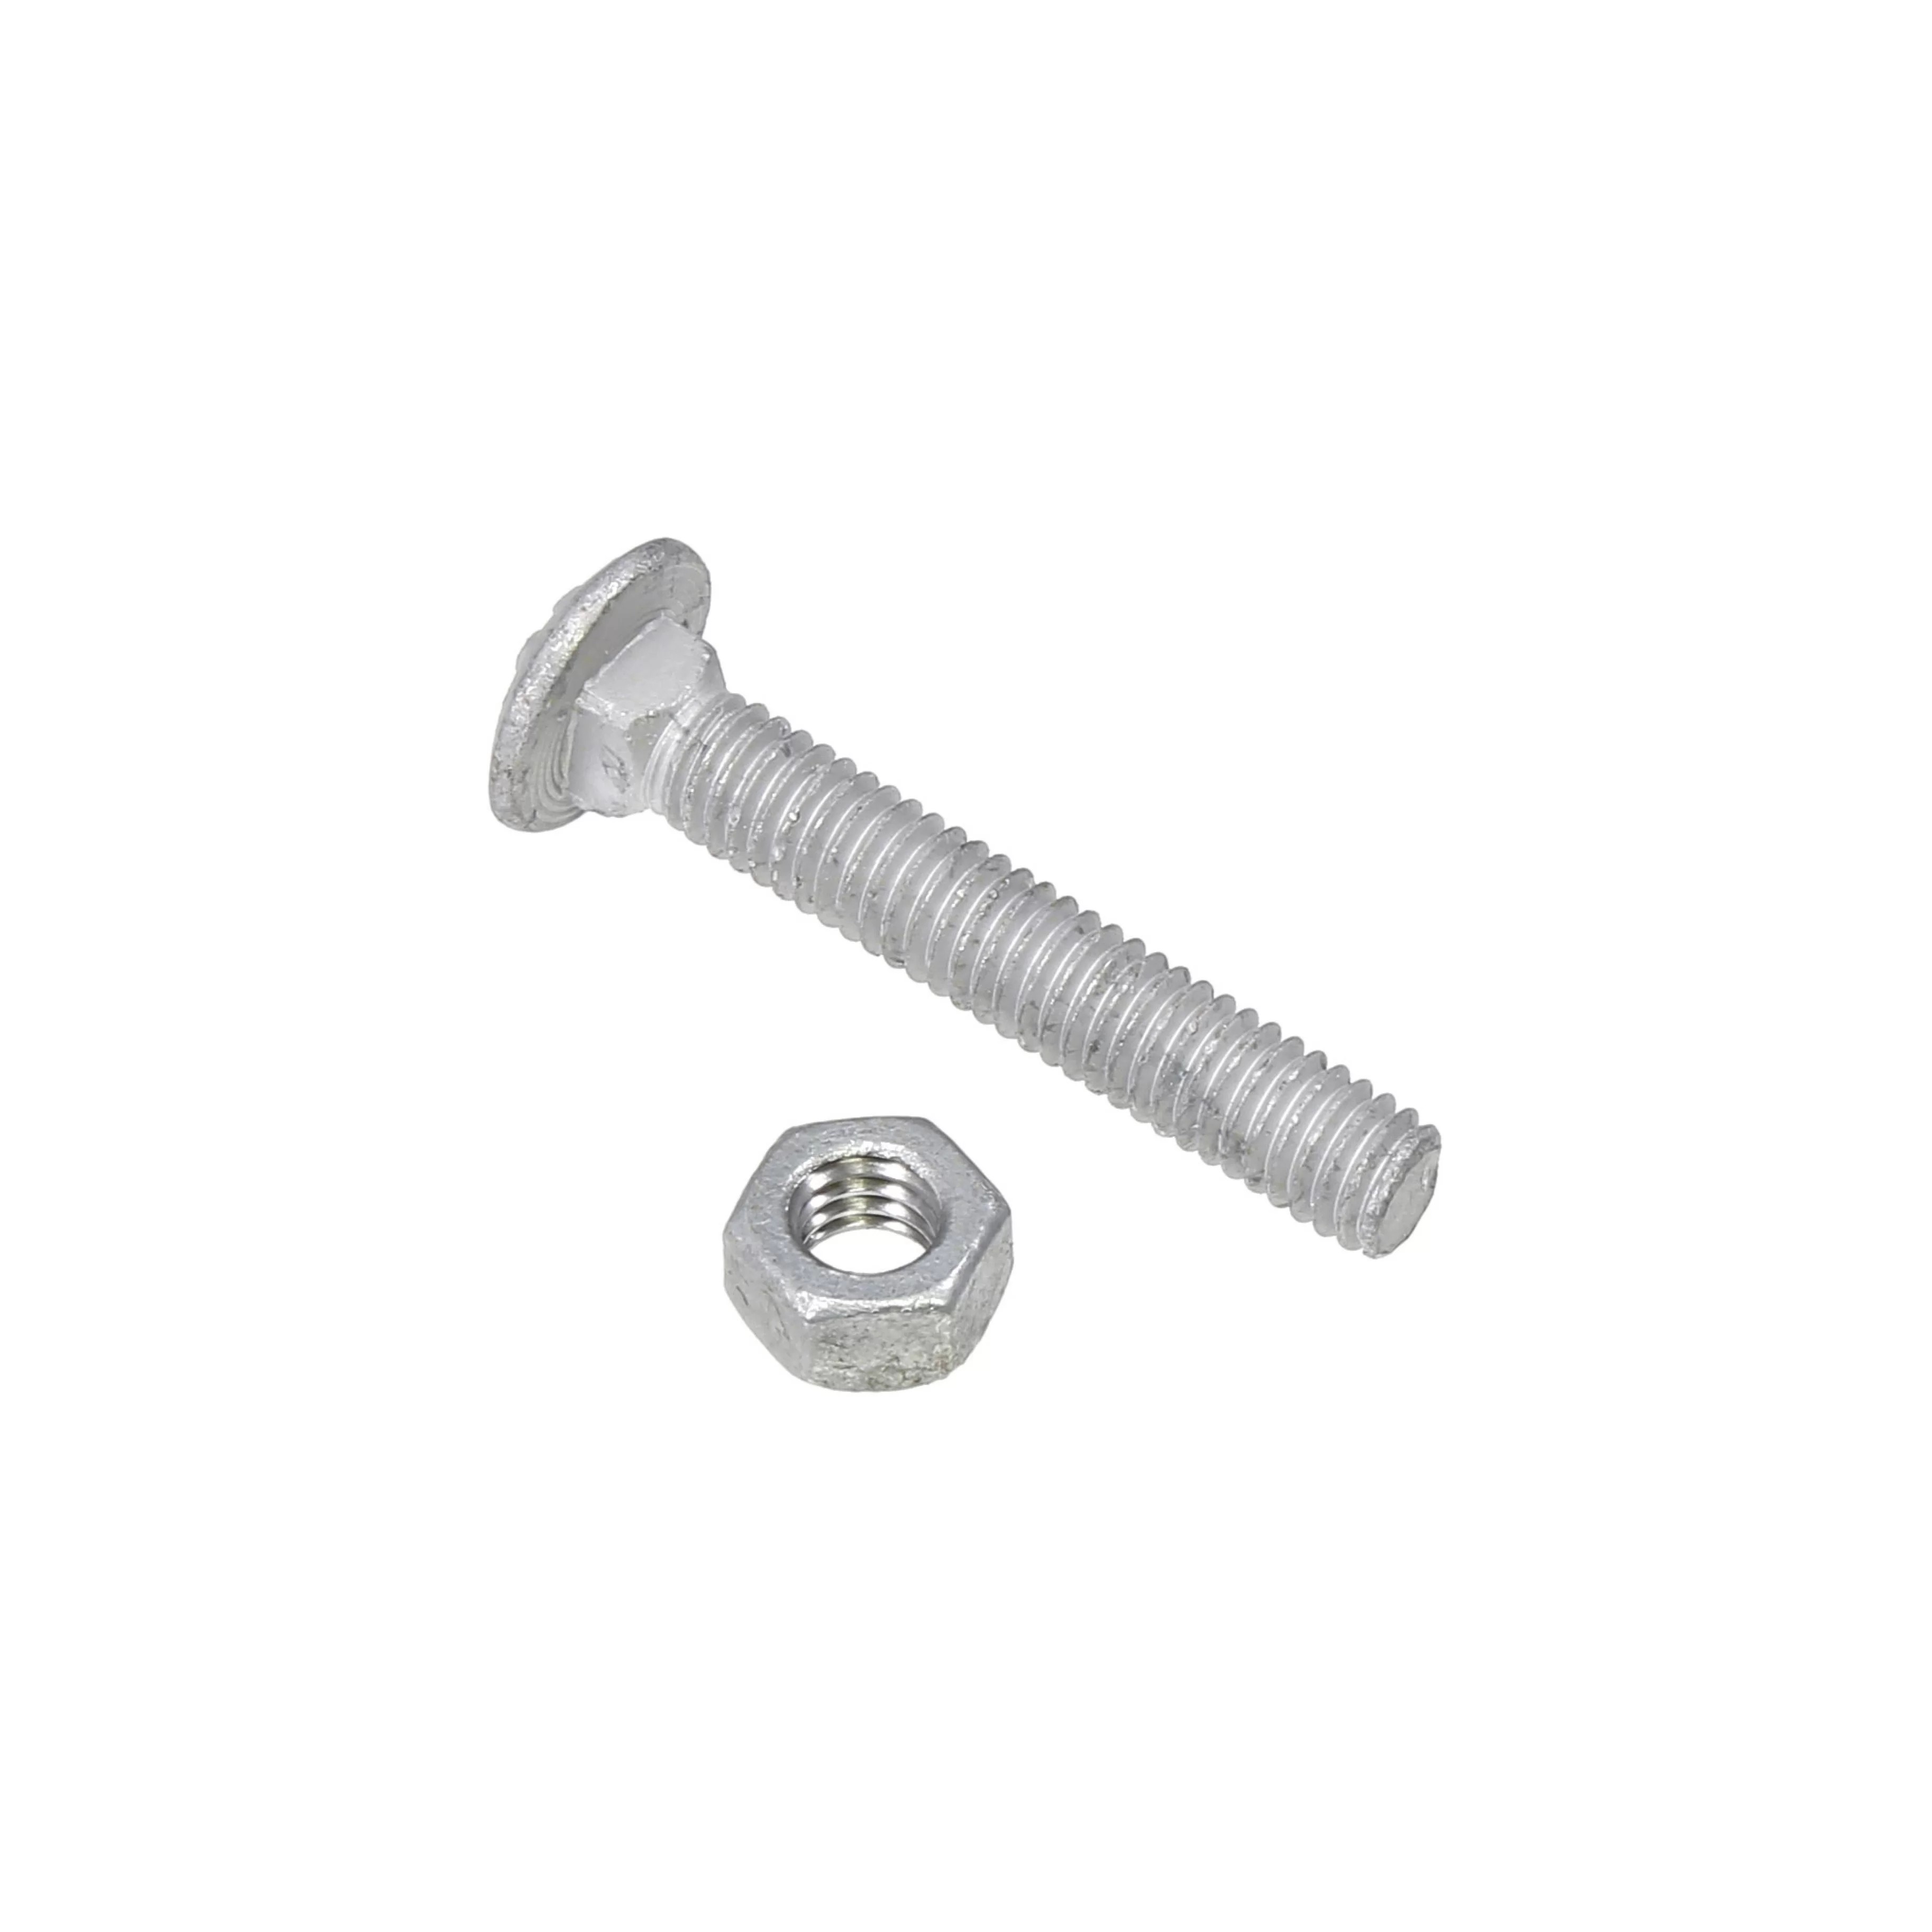
- Carriage Bolts (typically 3/8" or 1/2" diameter)
- Nuts and Washers
- Wrench Set (open-ended and socket wrenches)
- Drill with Bits (if pre-drilling is required)
- Level
- Tape Measure
- Marker or Pencil
- Optional: Thread Locker or Lock Nuts
Step-by-Step Installation Guide
Once you've gathered your materials, you're ready to begin the installation. Follow these steps in order for a secure and effective wheel installation:
- Determine Wheel Placement: Install the wheel on the bottom corner of the gate, opposite the hinge side. This placement provides maximum support and prevents sagging. If your gate has a latch on the same side, mount the wheel slightly inward to avoid interference.
- Position the Wheel Assembly: Hold the wheel against the bottom rail of the gate frame. Use a level to ensure the wheel sits perpendicular to the ground. Mark the mounting holes and confirm the wheel will sit about 1/2" to 1" above ground level for smooth rolling.
- Pre-Drill Mounting Holes: Using a drill bit slightly smaller than your carriage bolts, pre-drill through the gate frame. Be careful to only drill through one side of the frame.
- Install the Wheel Assembly: Insert carriage bolts through the mounting plate and pre-drilled holes. Place washers on each bolt from the inside, thread on the nuts, and tighten securely. Avoid over-tightening, which could distort the bracket.
- Check for Proper Operation: Open and close the gate to test. The wheel should roll smoothly without wobbling or binding. If the gate sags or the wheel doesn't touch the ground, adjust the mounting position.
- Secure All Hardware: Tighten all bolts firmly and apply thread locker to prevent loosening from vibration. If using lock nuts, ensure they are properly seated.
- Test Gate Alignment: Open the gate fully and verify it swings evenly with the wheel tracking properly. The gate should now open and close more easily with the wheel supporting the weight.
Frequently Asked Questions
How long does it take to install a gate wheel?
Most DIY installations can be completed in 30 minutes to an hour, depending on your experience and whether pre-drilling is required.
Can I install a gate wheel on an existing sagging gate?
Yes! Adding a wheel to a sagging gate can actually help correct the sag by taking weight off the hinges. However, severely damaged gates may require additional repairs.
Do I need to drill into my gate frame?
In most cases, yes. Gate wheels typically require mounting bolts to be secured through the gate frame. Some models may have clamp-on designs that don't require drilling.
How high should the wheel be from the ground?
The wheel should sit approximately 1/2" to 1" above the ground when the gate is closed. This allows for smooth rolling while preventing the gate from dragging.
Ready to Install?
If you have any further questions, please reach out to our representatives. They are happy to help in any way they can!
Contact Us